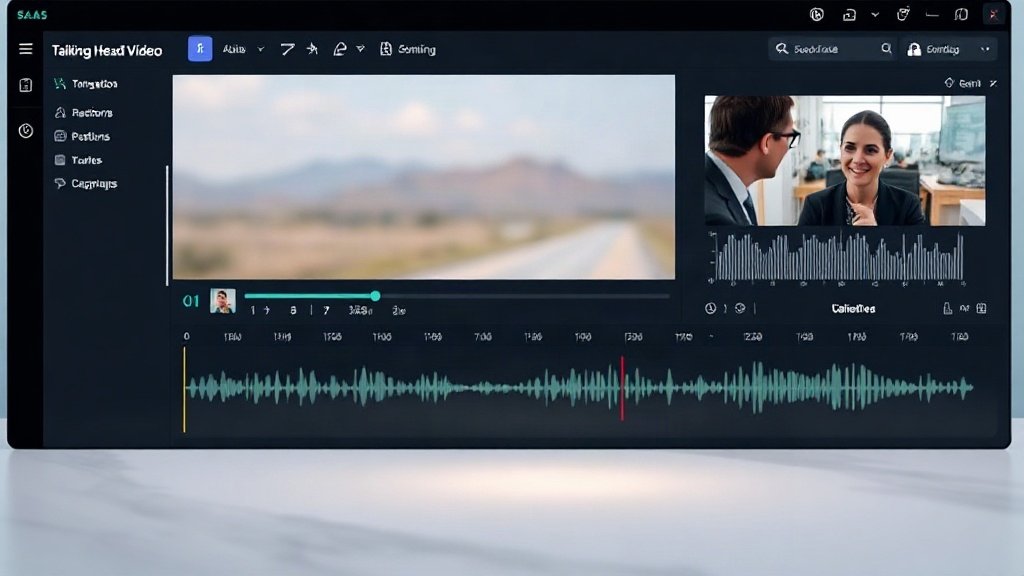
If you want your talking-head videos to reach more viewers, increase engagement, and stay ahead of the curve, adding automatic captions and professional-sounding voiceovers is a must. Here’s a practical, no-fuss guide to using Vidquence to enhance your videos—making them more watchable, accessible, and ready for any platform.
Why Add Automatic Captions and Voiceovers?
First, the numbers: According to a 2023 Verizon Media study, 69% of people watch videos without sound in public places, and 80% are more likely to watch an entire video if captions are available. Captions aren’t just compliance—they’re engagement fuel. Meanwhile, smooth, well-paced voiceover can upgrade rambling footage into content that pops, especially when repurposing webinars or screen recordings for YouTube or social media.
But manual captioning and narration editing are tedious. That’s where Vidquence comes in: an AI-powered platform specifically designed to speed up video creation—from uploading raw talking-head recordings to exporting polished, captioned, and narrated videos in a fraction of the time.
Getting Started: Importing Your Talking-Head Video
You can start in Vidquence two ways:
- Upload your own footage: Great for recorded interviews, Zoom sessions, or webcam presentations.
- Start with a script: If you haven’t filmed yet, you can input a script that Vidquence will turn into a narrated video.
We’ll focus here on starting with pre-recorded talking-head video, but the workflow is similar if you’re going script-first.
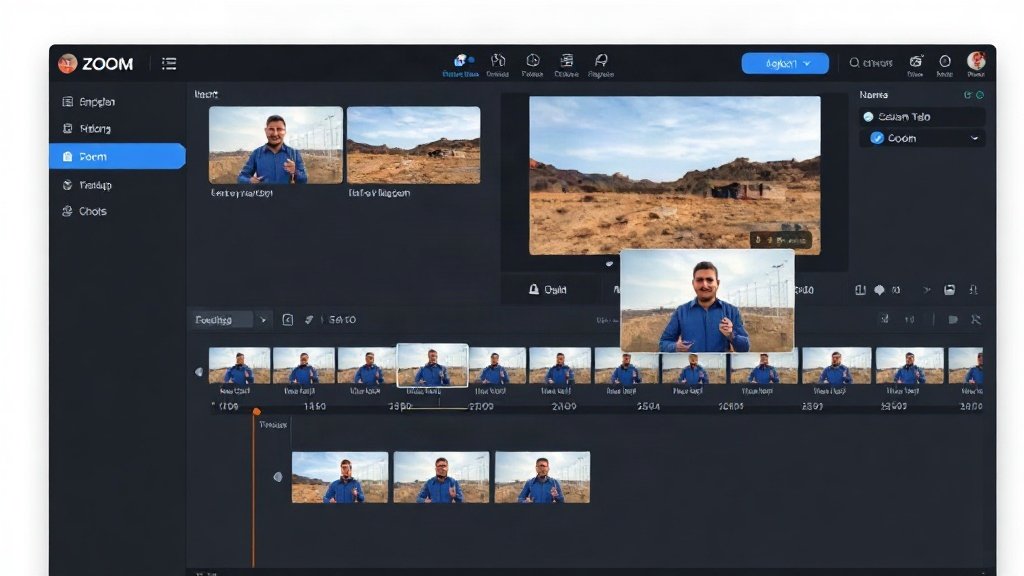
Step 1: Enhance Your Footage Automatically
Upload your video to Vidquence’s Talking Head Enhancer. This workflow does more than just transcribe: it scans your footage, trims out dead air and awkward pauses, suggests pacing edits, and flags spots where B-roll (think cutaway stock clips) could keep things visually interesting. This alone can save you hours of manual work.
Step 2: Add and Customize Automatic Captions
Vidquence generates automatic captions by transcribing your audio with AI. Here’s what’s different about their caption tool:
- Fully synced: Captions match up to your voice or narration, no fiddling required.
- Customizable: Edit wording, fix names or jargon, and tweak start/end times if needed.
- Animated & styled: Pick fonts, choose colors, adjust sizes and placements. You can animate for punchy reels or follow your brand guidelines for consistency.
Accessible captions not only boost watch time, but also ensure you’re meeting accessibility requirements on platforms like YouTube and LinkedIn.
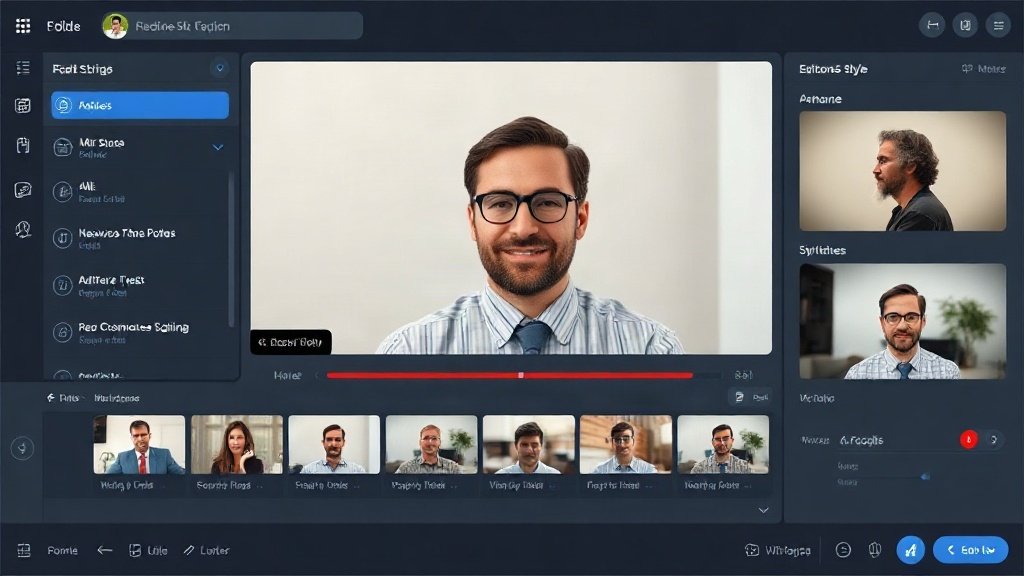
Step 3: Add Voiceover – AI or Your Own
Not happy with your original audio? Or working from a script? Vidquence lets you choose how the narration is generated:
- AI voiceover (text-to-speech): Select from a variety of voices and tones (male/female, accents, expressive/neutral). This is ideal for quick how-tos and explainer videos.
- User-uploaded voice: Prefer the warmth, nuance, and personality only a human can deliver? Upload your own professionally recorded narration—and Vidquence will automatically sync it to your visuals and captions.
AI voiceovers are getting more natural by the month, but for mission-critical promos or nuanced storytelling, a human voice can still stand out.
Step 4: Insert B-Roll for Engagement
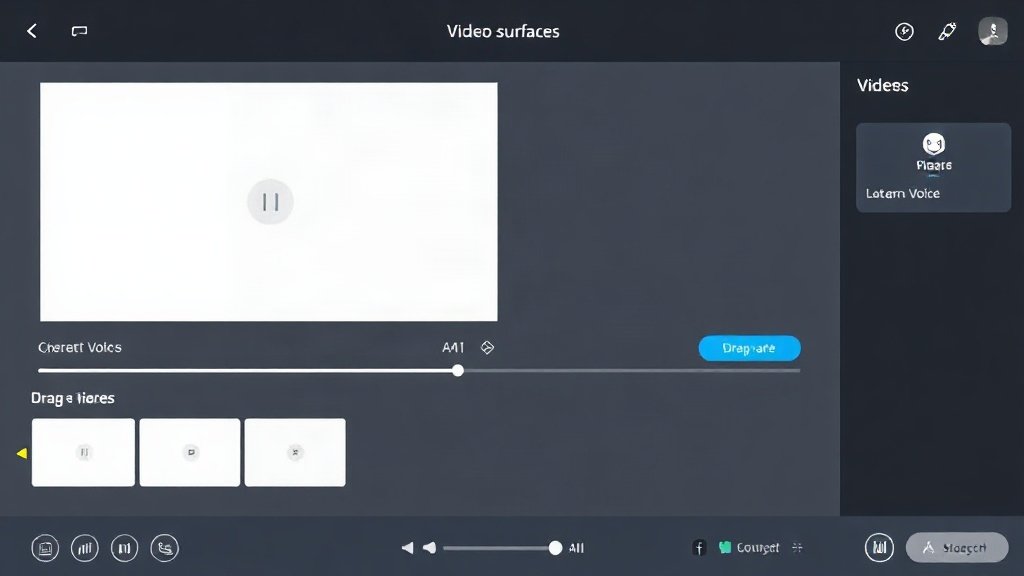
Long talking-head segments can cause viewers to drop off. Vidquence’s workflow suggests and helps you slot in B-roll—stock footage or your own clips—to illustrate key points and vary the visuals. These cutaways are especially useful for breaking up dense content and keeping the audience engaged.
- Tip: Use B-roll cuts around statistics, name-drops, or moments you reference images or actions.
Step 5: Preview and Polish
In the preview screen, watch how everything comes together. Tweak your captions for timing or style, adjust the B-roll placements, and check that your voiceover syncs perfectly.
Final pass: double-check for spelling in captions (especially names, brands, or technical terms), and confirm that your visuals and narration reinforce each other smoothly.
Step 6: Export in the Right Format
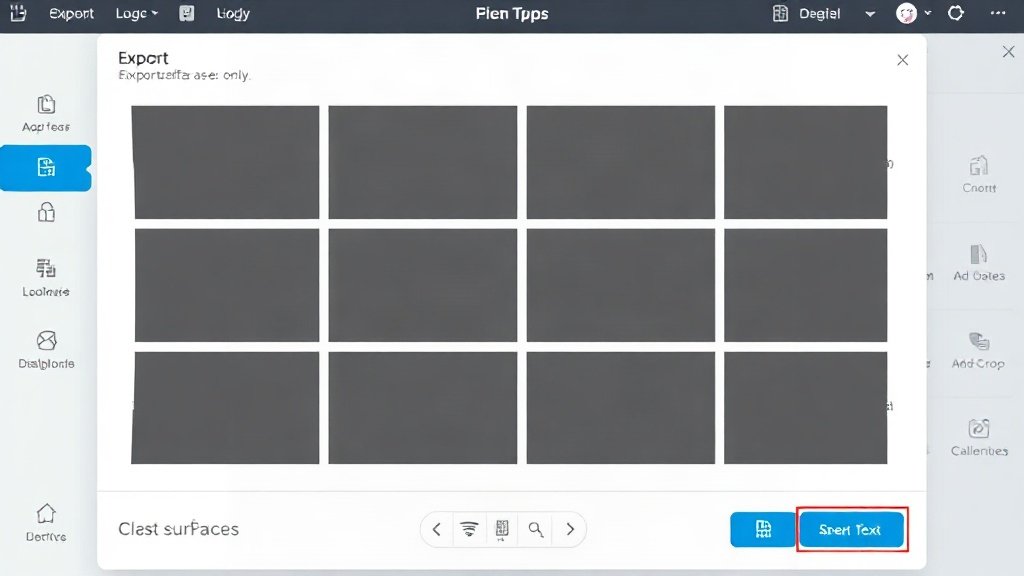
Choose your export settings:
- Vertical (9:16): For TikTok, Instagram Reels, YouTube Shorts.
- Square (1:1): For Instagram feed, Facebook, LinkedIn.
- Wide (16:9): For YouTube, embeds, or presentations.
One-click exporting delivers ready-to-upload files, eliminating manual resizing or reformatting headaches. You can also auto-publish directly to select platforms from within Vidquence.
Comparing AI vs Human Voiceover and Captions
Which should you use? Here’s a quick pro/con table:
- AI Voiceover: Fast, always available, cheap, but may lack natural emotive quality.
- User-Uploaded Voice: Richer delivery, more authentic for storytelling, but requires recording and (possibly) a little more clean-up.
- Automatic Captions: Instantaneous and fully editable—no more laborious manual typing.
- Manual Captions: Still useful for ultra-technical videos or if you have heavy accents, but much slower.
With Vidquence, you’re not locked in: you can start with AI, then switch to human voice or adjust captions as needed.
Frequently Asked Questions
- What languages are supported for captions and voiceovers in Vidquence?
Vidquence currently supports English for most features, with other languages being expanded. Check their documentation or in-app menus for updated language support. - Can I edit captions after they’re generated?
Yes. Captions are fully editable for text, timing, and styling. You can fix names, terms, or pacing on every segment without leaving the timeline view. - Does Vidquence support automatically cutting dead air in my video?
Absolutely. The Talking Head Enhancer automatically scans for and trims dead air, streamlining your video for better pacing. - Are there additional costs for using AI voiceovers or extra export formats?
This can vary by region and plan. See the latest details on Vidquence’s pricing page for what’s included in your subscription.
Conclusion: Boost Your Video Production Efficiency
Adding automatic captions and voiceovers using Vidquence turns lengthy, awkward talking-head footage into crisp content ready for YouTube, LinkedIn, or TikTok. With automated trimming, readable captions, and flexible narration options, you’ll reach more viewers and save hours in the editing suite. Try this workflow the next time you record—and make your message seen, heard, and remembered.